
How to configure Elastic Load Balancer (ELB) in AWS

Introduction
1. First of all we have to launch two EC2 instance with web server configured.

2. Now click on Load Balancer in same console :-

There are two type of Load Balancer :-
1. Application Load Balancer.
2. Classic load Balancer.

1. Give name to your Load Balancer
2. Make it Internet facing
3. Configure the Listener on port 80

Select your instance . You should check VPC ID and Subnet ID.


Review your Setting and Launch the Load Balancer.

In the last you will have a message that successfully created.


As you can see in the above image request is coming to both instance.

As you can see in the above image we have created the CNAME record with server.techs2resolve.in. Now we will browse with our CNAME. You can also use "www" instead of server.

That's it
Please enjoy using it
Do Comments,Likes and Share.

Introduction
Elastic Load Balancing is used to balance the load which is coming through your EC2 instance.
It can be your Web Server, Application or Database.
Elastic Load Balancer distributes the traffic and it is also Fault tolerance.
You can also configure it with "Aws-Route53" to provide fault tolerance and reliable connection.
Note :- All the EC2 instance has to be in the same "AWS-Region" for ELB.
This tutorial assumes you have successfully launched two EC2-instance and web server configured. In this we will only cover ELB.
1. First of all we have to launch two EC2 instance with web server configured.

As you can see in the above image both instance are running in the different "AZ" but in the same region.
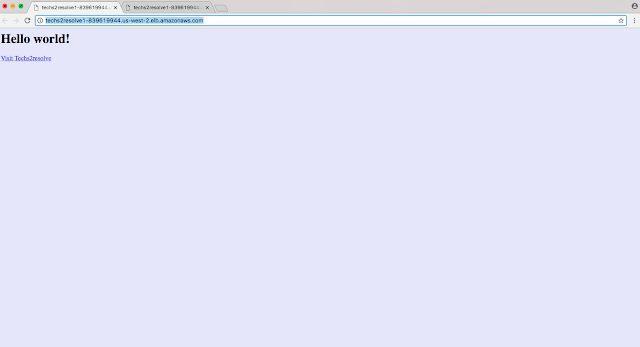
Check your web server is running by simply opening your website URL in the browser.

There are two type of Load Balancer :-
1. Application Load Balancer.
2. Classic load Balancer.
We have selected Application Load Balancer. We can configure Application load balancer in many ways like you can define the content also . images etc. You can route the traffice for particular content to the particular instance.

1. Give name to your Load Balancer
2. Make it Internet facing
3. Configure the Listener on port 80

Select your instance . You should check VPC ID and Subnet ID.

You will be provided with a healthy warning that you should configure with HTTPS instead of HTTP but for the demo purpose we will configure it with HTTP.

Now you have to configure the Health Check Parameter for Port 80 as we have configured the Listener on Port 80. Give the name and path.
You can also configure advance health check as per your requirement. In this tutorial we are leaving default.
Select the Security Group if you have created or you can create it later. But best practice is you create the it before configuring Load Balancer.


Add your Instance to the Target Group . Select your instances and Click on "Add to Registered"

Review your Setting and Launch the Load Balancer.

In the last you will have a message that successfully created.

Now you can check the Description in Load Balancer you will be provided with Unique Link. For this Link You have to create CNAME record in your Domain DNS registrar site. Or if you have hosted with Route 53 then you can manage it from Route53. Route 53 is chargeable.

Let see in the browser. It also detect your IP address or else you will have to clear the history to see the request going on both the instance.


As you can see in the above image request is coming to both instance.

As you can see in the above image we have created the CNAME record with server.techs2resolve.in. Now we will browse with our CNAME. You can also use "www" instead of server.

That's it
Please enjoy using it
Do Comments,Likes and Share.
Subscribe by Email
Follow Updates Articles from This Blog via Email
No Comments